Thermoplastic Olefin (TPO) roofing has become one of the most popular choices for commercial buildings due to its durability, energy efficiency, and cost-effectiveness. If you’re a commercial property owner or a building manager looking to install TPO roofing, this guide will walk you through everything you need to know about TPO roofing installation, including:
- What TPO is
- It’s benefits
- Professional TPO roofing installation tips
What is TPO Roofing?
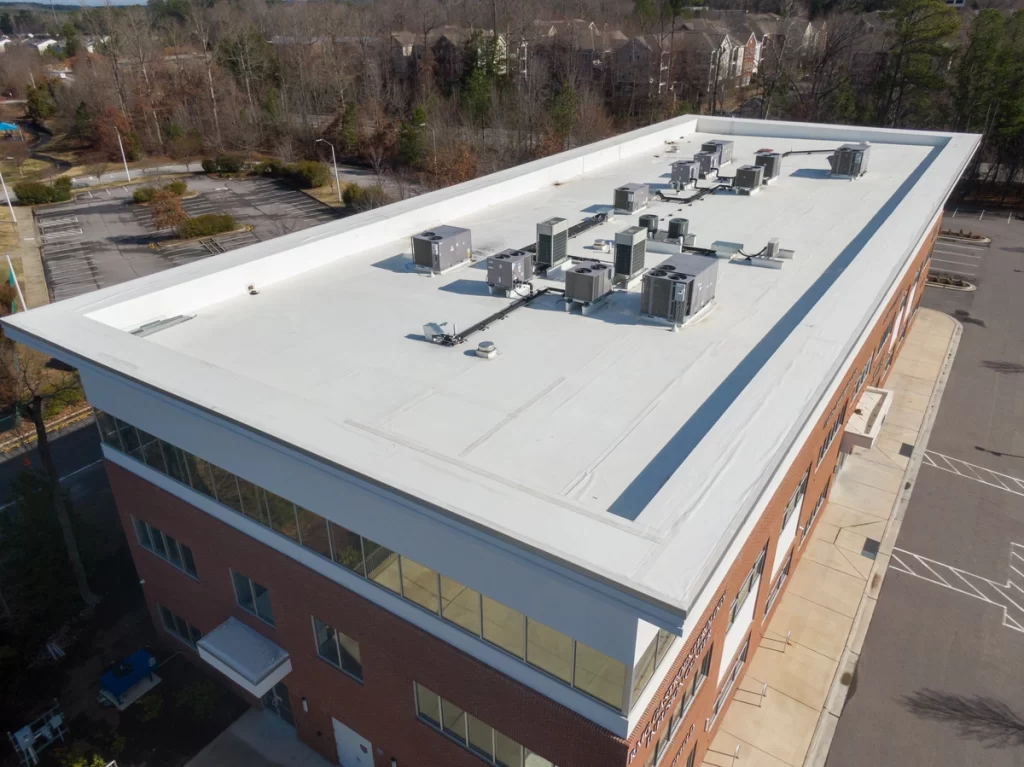
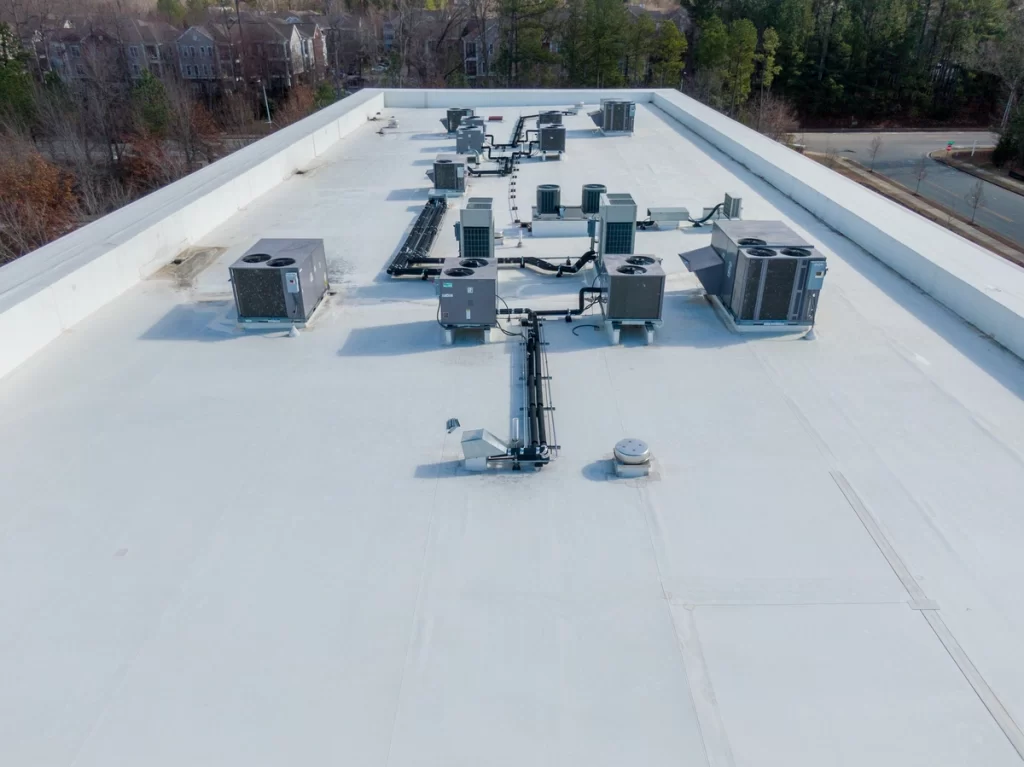
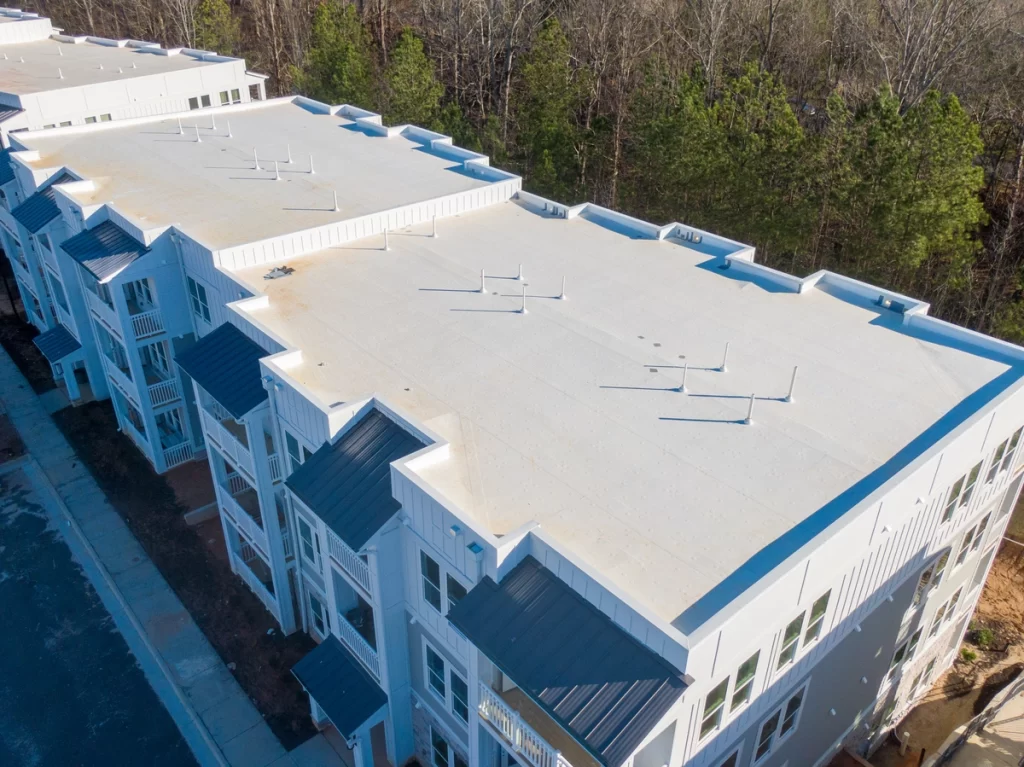
TPO roofing is a type of single-ply membrane roofing made from a blend of polypropylene and ethylene-propylene rubber. It offers excellent resistance to ultraviolet, ozone, and chemical exposure. TPO membranes are typically white, which helps reflect heat and reduce cooling costs.
⭐️ Benefits of TPO Roofing ⭐️
- Energy Efficiency: One of the standout features of TPO roofing is its energy efficiency. The white reflective surface of TPO helps to reduce heat buildup, lowering your cooling costs during the hot summer months.
- Durability: TPO roofs are known for their durability. They are resistant to tears, punctures, and impact damage. This makes them an excellent choice for commercial buildings exposed to harsh weather conditions.
- Cost-Effectiveness: Compared to other roofing options like PVC and EPDM, TPO offers a more budget-friendly solution without sacrificing quality and performance.
- Environmentally Friendly: TPO roofing is 100% recyclable at the end of its life, making it an eco-friendly option for businesses aiming to reduce their environmental footprint.
7 Steps to Install TPO Roofing
Want to install TPO roofing like a professional roofer? Follow these steps for a smooth TPO roof installation.
1. Preparing the Roof Deck
Before any installation can begin, it’s crucial to prepare the roof deck. This involves cleaning the surface to remove any debris, repairing any damaged areas, and ensuring that the deck is dry.
2. Installing Insulation
The next step is to install insulation material. Insulation helps improve the building’s energy efficiency by reducing heat loss during the winter and heat gain during the summer. Common insulation materials used with TPO roofing include polyisocyanurate, expanded polystyrene (EPS), and extruded polystyrene (XPS).
3. Laying the TPO Membrane
Once the insulation is in place, the TPO membrane can be laid out. The membrane should be rolled out and allowed to relax for about 30 minutes to reduce wrinkles.
4. Fastening the Membrane
The TPO membrane can be mechanically fastened, fully adhered, or ballasted. Each method has its own set of advantages and is chosen based on the specific requirements of the building.
- Mechanically Fastened: This method involves using screws and plates to secure the membrane to the roof deck. It’s a popular choice because it’s quick and cost-effective.
- Fully Adhered: In this method, the membrane is glued to the insulation or roof deck using a special adhesive. This provides a smooth, aesthetically pleasing finish.
- Ballasted: Ballasted TPO roofs use large stones or pavers to hold the membrane in place. This method is less common but can be effective in certain applications.
5. Seaming the Membrane
Once the membrane is secured, the seams need to be welded together to create a watertight seal. This is typically done using a hot-air welder, which melts the edges of the membrane and fuses them together.
6. Installing Flashing
Flashing is installed around roof penetrations, such as vents, skylights, and HVAC units, to ensure they are properly sealed. This prevents water from entering the building at these vulnerable points.
7. Conducting a Final Inspection
After the installation is complete, a thorough inspection is conducted to ensure that all seams are properly welded, all fasteners are secure, and there are no gaps or defects in the membrane.
Common Mistakes to Avoid During TPO Roofing Installation
If you’re trying to install a TPO roofing system on your own, avoid these common mistakes that can cause major damage down the line.
Improper Surface Preparation
Failing to properly clean and prepare the roof deck can lead to poor adhesion and leaks. Make sure the surface is clean, dry, and free of debris before starting the installation.
Incorrect Fastening
Using the wrong type of fasteners or spacing them too far apart can compromise the integrity of the roof. Follow the manufacturer’s guidelines for the correct type and spacing of fasteners.
Poor Seaming
Improperly welded seams can lead to leaks and premature roof failure. Ensure that all seams are properly welded and checked for continuity.
Neglecting Flashing
Flashing is crucial for preventing leaks around roof penetrations. Make sure all flashing is properly installed and sealed.
Maintenance Tips for TPO Roofing
Want to keep your new roofing materials looking good as new? Maintenance is the key!
- Regular Inspections: Conduct regular inspections to check for any signs of damage, wear, or leaks. Address any issues promptly to prevent further damage.
- Cleaning the Roof: Keep the roof clean by removing debris, leaves, and dirt. A clean roof not only looks better but also performs better.
- Addressing Repairs Promptly: If you notice any damage or leaks, address them promptly to prevent further damage and costly repairs.
A Roofing Contractor You Can Count On
TPO roofing installation is a great investment for commercial properties due to its energy efficiency, durability, and cost-effectiveness. By following the steps outlined in this guide, you can ensure a successful TPO roofing installation that will provide long-lasting protection for your building.
Ready to take the next step? Contact us today to discuss your TPO roofing installation project and get started on securing your building with a high-quality, energy-efficient roofing solution.


