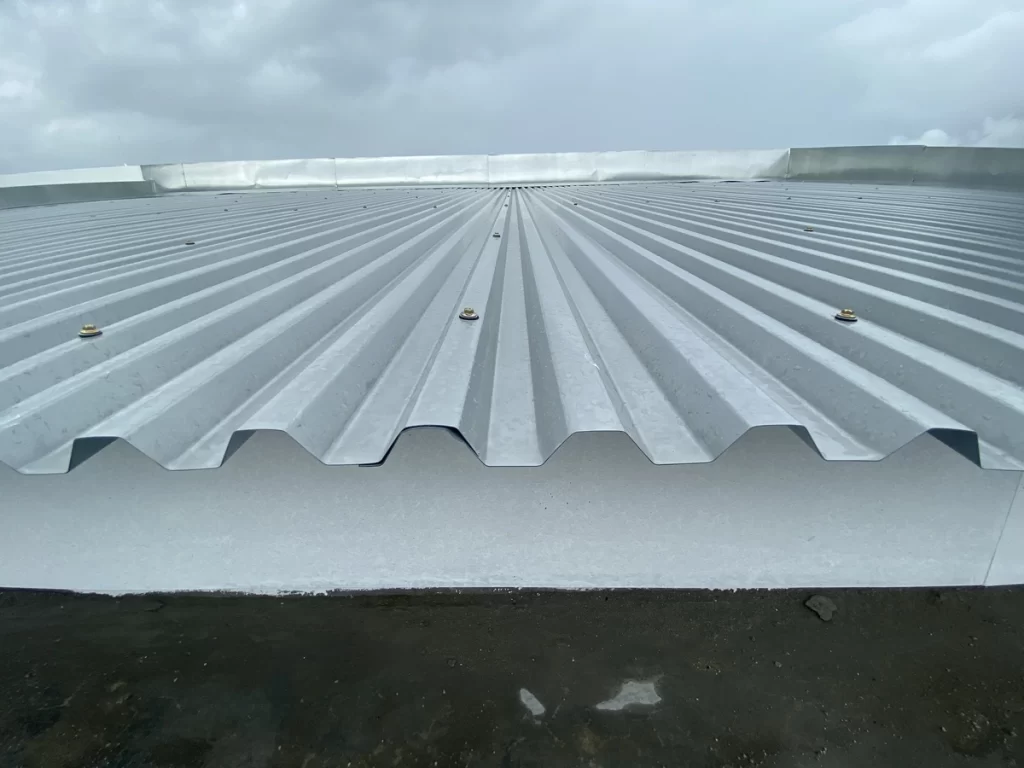
A corrugated metal roof can last for decades with proper maintenance. However, one of the most critical aspects of maintaining these roofs is ensuring that the seams are properly sealed. Leaky seams can lead to:
- Water damage
- Mold
- Costly repairs
- A host of other problems
In this guide, we will walk you through how to seal corrugated metal roof seams, from understanding why it’s important to the tools you’ll need and the step-by-step process to get the job done right.
Why Sealing Corrugated Metal Roof Seams is Important
Before we get into the how-to, let’s first discuss why sealing the seams of your metal roofing panels is so crucial:
- Prevent Water Damage: Unsealed seams can allow water to seep into your home, leading to water damage, mold, and structural issues.
- Increase Longevity: Properly sealed seams contribute to the longevity of your roof by preventing rust and corrosion.
- Energy Efficiency: A well-sealed roof can improve the insulation of your home, making it more energy-efficient.
- Peace of Mind: Knowing that your roof is secure gives you peace of mind, especially during heavy rains or storms.
Tools and Materials You’ll Need
Before you start, make sure you have the following tools and materials on hand:
- Ladder: A sturdy ladder to safely access your roof.
- Safety Gear: Gloves, safety glasses, and non-slip shoes.
- Wire Brush: For cleaning the seams before sealing.
- Roofing Sealant: Choose a high-quality sealant designed for metal roofs.
- Caulking Gun: To apply the sealant.
- Putty Knife: For spreading the sealant evenly.
- Metal Primer: Optional but recommended for better adhesion.
- Paintbrush: For applying the primer.
- Rags and Cleaner: For cleaning the area around the seams.
- Measuring Tape: To measure the length of the seams you’ll be sealing.
7 Step Guide to Sealing Corrugated Metal Roof Seams
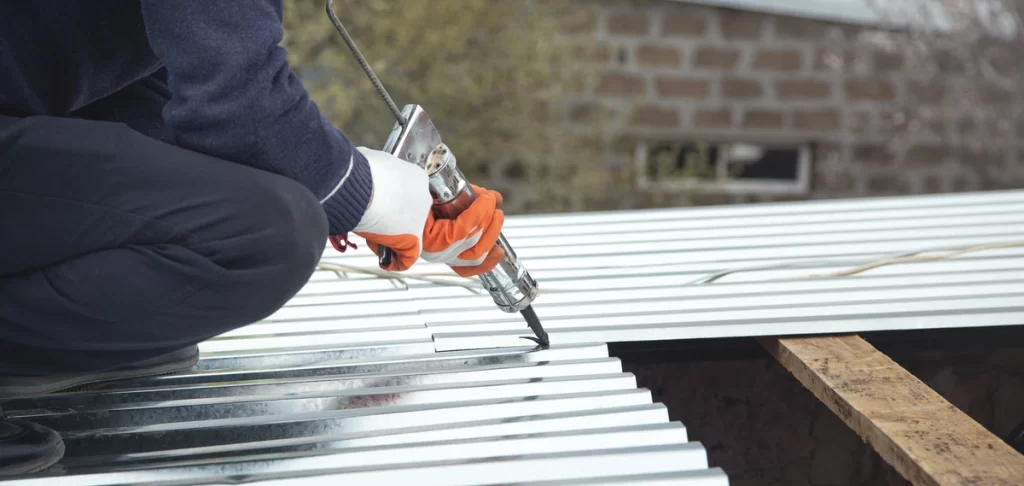
Now that you have your tools and materials ready, let’s get into the step-by-step process of sealing your corrugated metal roof seams.
Step 1: Safety First
Before you climb onto your roof, take the following safety precautions:
- Check the Weather: Ensure the weather is clear. Working on a wet roof can be dangerous.
- Secure Your Ladder: Make sure your ladder is on stable ground and properly secured.
- Wear Safety Gear: Use gloves, safety glasses, and non-slip shoes.
Step 2: Inspect the Roof
Inspect your corrugated metal roof to identify the seams that need sealing. Look for:
- Rust or Corrosion: Areas where the metal is deteriorating.
- Loose Screws or Nails: These can create gaps in the seams.
- Existing Sealant: Check if any old sealant is peeling or cracking.
Step 3: Clean the Seams
Cleaning the seams is crucial for the sealant to adhere properly:
- Remove Debris: Use a wire brush to remove dirt, rust, and old sealant from the seams.
- Clean the Area: Wipe the seams with a rag and cleaner to remove any remaining debris.
- Dry the Seams: Make sure the seams are completely dry before applying the sealant.
Step 4: Apply Metal Primer (Optional)
Applying a metal primer can improve the adhesion of the sealant:
- Apply Primer: Use a paintbrush to apply a thin layer of metal primer to the seams.
- Allow to Dry: Wait for the primer to dry completely before proceeding.
Step 5: Apply the Roofing Sealant
Now it’s time to apply the sealant:
- Load the Caulking Gun: Cut the tip of the sealant tube and load it into the caulking gun.
- Apply Sealant: Squeeze a continuous bead of sealant along the seam, ensuring it’s evenly distributed.
- Spread the Sealant: Use a putty knife to spread the sealant evenly over the seam.
Step 6: Inspect and Touch Up
After applying the sealant, inspect your work:
- Check for Gaps: Ensure there are no gaps or missed spots in the sealant.
- Smooth the Sealant: Use the putty knife to smooth out any uneven areas.
- Clean Up: Wipe away any excess sealant with a rag.
Step 7: Allow to Cure
Allow the sealant to cure according to the manufacturer’s instructions before subjecting it to rain or heavy use.
Tips for Long-Lasting Sealing
- Regular Inspections: Check your roof at least once a year for any signs of wear and tear.
- Quality Materials: Always use high-quality sealants and primers designed for metal roofs.
- Prompt Repairs: Address any issues as soon as they arise to prevent further damage.
Common Mistakes to Avoid
- Skipping the Cleaning Step: Sealant won’t adhere properly to dirty or rusty surfaces.
- Using the Wrong Sealant: Make sure you choose a sealant specifically designed for metal roofs.
- Ignoring Safety Precautions: Always prioritize safety when working on your roof.
Your Metal Sealant Professionals
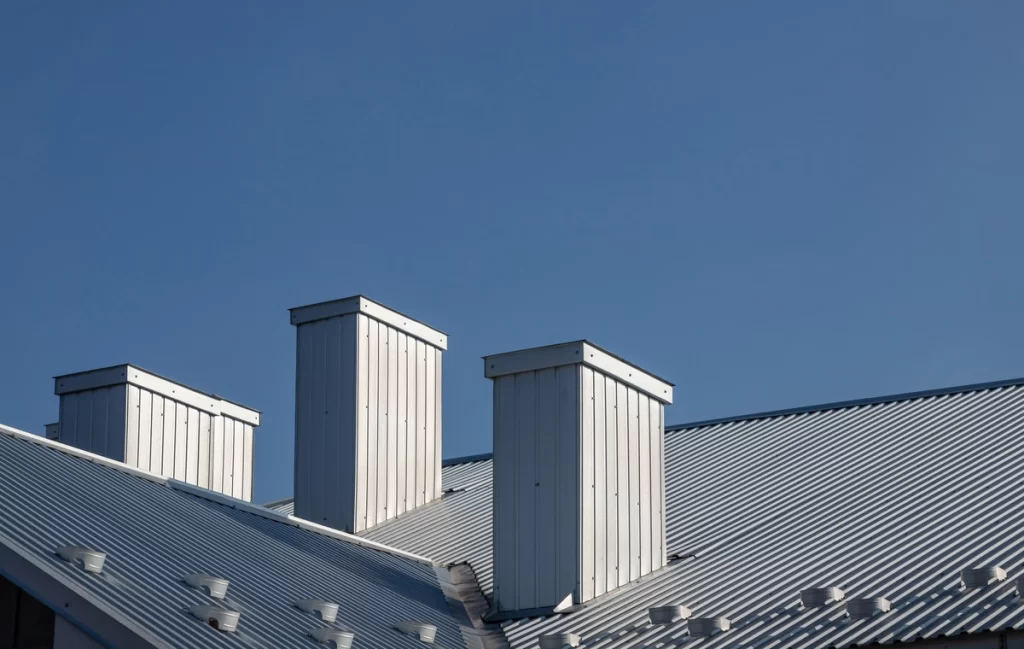
Sealing the seams of your corrugated metal roof is a vital maintenance task that can significantly extend the life of your roof and protect your home from water damage. By following the steps outlined in this guide and using quality materials, you can ensure a job well done.
Remember, if you feel uncomfortable or unsafe performing this task yourself, don’t hesitate to call in a professional. Your safety and the integrity of your roof are worth it. At Monarch Roofing, we’re here to help you protect your metal roof system from top to bottom. Contact us today to start taking care of your metal roof panels.


