Roof flashing might not be the most glamorous aspect of your home, but it plays a crucial role in protecting it from water damage.
Often overlooked until a problem arises, understanding what roof flashing is, how it works, and how to repair it can save you from costly repairs down the line. We’ve got all of that information and more in this guide, which takes you into the world of roof flashing, covering everything from:
Its purpose
- Roof flashing repair techniques
- Costs
- Whycalling a professional might be your best bet
What is Roof Flashing?

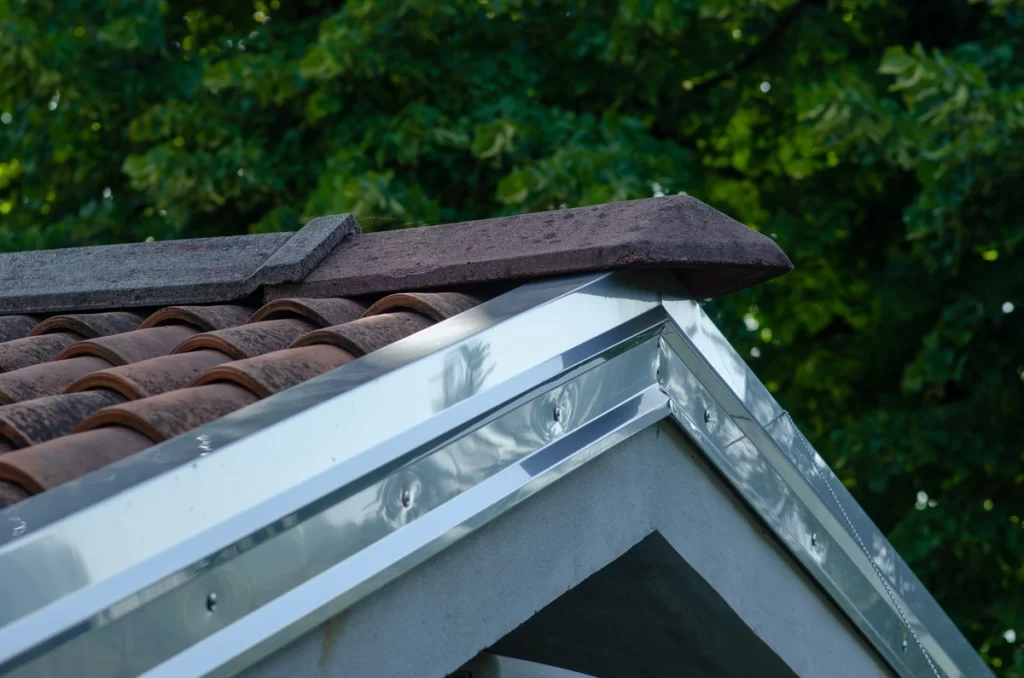
Roof flashing is a thin, weather-resistant material typically made from aluminum, copper, or galvanized steel. Its primary purpose is to prevent water from seeping into vulnerable areas of your roof, such as joints, edges, and transitions where different materials meet. Without proper flashing, water can infiltrate these areas, leading to leaks, mold growth, and structural damage.
What Does Roof Flashing Do?
Roof flashing serves as a barrier against water penetration, guiding rainwater away from critical areas and preventing it from seeping into your home. It is strategically installed in areas such as:
- Valleys: Where two roof slopes meet, creating a low point where water tends to accumulate.
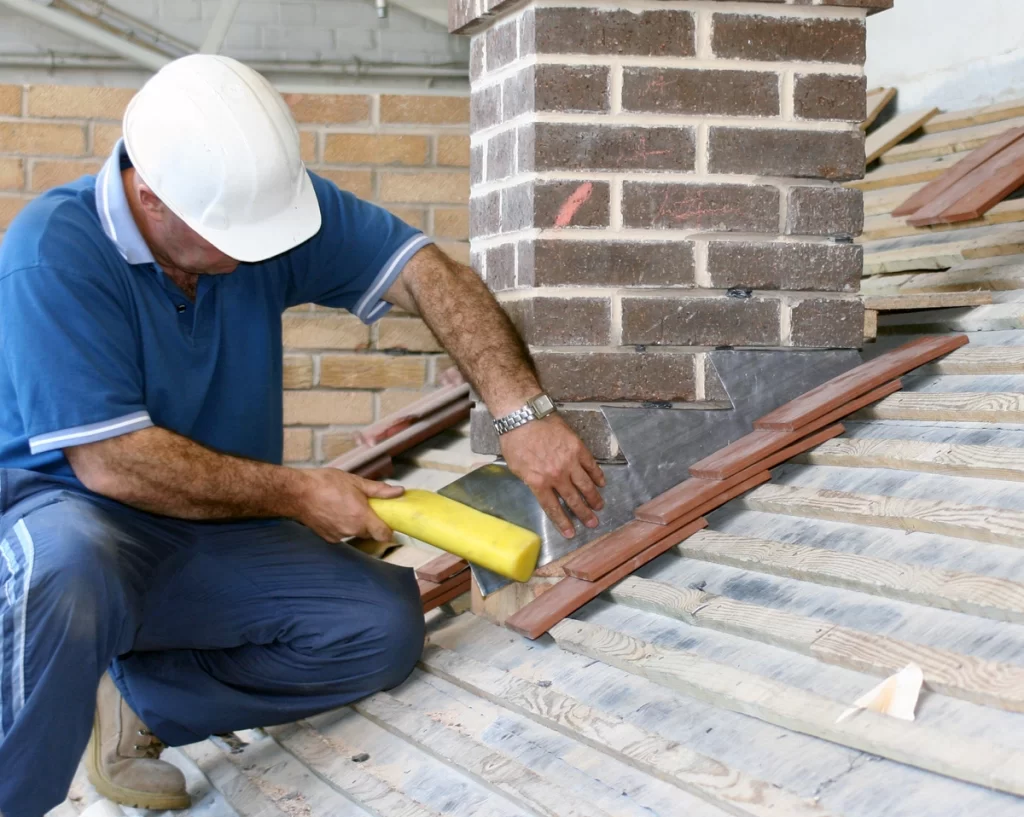
- Chimneys: Around the base and along the edges to seal gaps between the chimney and roof.
- Vent Pipes: Where plumbing or exhaust vents protrude through the roof.
- Skylights: Along the edges to prevent water from seeping underneath.
- Roof Edges: Along the eaves and rakes to direct water into gutters.
What Does Damaged Roof Flashing Look Like?
Identifying damaged roof flashing is crucial for preventing water intrusion and subsequent damage to your home. Signs of damaged flashing include:
- Rust or Corrosion: Especially common with older metal flashing.
- Cracks or Gaps: Visible openings where flashing should be sealed tightly against surfaces.
- Lifting or Warping: Flashing that has pulled away from its intended position.
- Missing Sections: Parts of the flashing may have fallen off or become dislodged.
- Water Stains on Ceilings or Walls: Indicating that water is infiltrating through compromised flashing.
The Dangers of Leaving Roof Flashing Damaged:
Ignoring damaged roof flashing can lead to a host of problems, including:
- Water Damage: Leaking water can cause rotting wood, deteriorating insulation, and mold growth.
- Structural Damage: Prolonged water exposure can weaken roof decking, rafters, and other structural elements.
- Health Hazards: Mold growth resulting from water intrusion can pose health risks to occupants.
- Reduced Energy Efficiency: Moisture infiltration can compromise insulation, leading to higher energy bills.
- Decreased Property Value: Untreated water damage can detract from the value and curb appeal of your home.
How to Repair Roof Flashing in 6 Steps
Repairing roof flashing can be a straightforward DIY task for those with basic handyman skills. However, for more complex issues or if you’re uncomfortable working at heights, it’s best to hire a professional. Here’s a general overview of the steps involved in repairing roof flashing:
1) Safety First:
Before starting any repairs, ensure you have the necessary safety equipment, including sturdy ladders and fall protection gear.
2) Inspect the Flashing:
Identify the damaged areas and assess the extent of the damage.
3) Clean the Area:
Remove any debris, dirt, or old caulking from around the damaged flashing.
4) Replace or Repair Flashing:
Depending on the severity of the damage, you may need to replace sections of flashing or simply patch small cracks or holes.
5) Sealant Application:
Apply roofing sealant or flashing cement around the repaired areas to ensure a watertight seal.
6) Test for Leaks:
Once the repair is complete, check for leaks by spraying water on the repaired area with a hose.
Why You Should Call a Professional
While minor flashing repairs can be tackled by DIY enthusiasts, certain situations warrant the expertise of a professional roofer. Here are a few reasons why you might want to consider hiring a professional for roof flashing repair:
Safety Concerns:
Working at heights can be dangerous, especially for those without proper training or equipment.
Complex Repairs:
Some flashing issues, such as those involving intricate roof designs or hard-to-reach areas, require specialized knowledge and skills.
Warranty Protection:
Hiring a professional ensures that repairs are done correctly and may be covered by warranty.
Time and Convenience:
Professionals have the experience and tools to complete repairs efficiently, saving you time and hassle.
Comprehensive Inspection:
A professional roofer can assess the overall condition of your roof and identify any underlying issues that may require attention.
Cost to Repair Flashing
The cost of repairing roof flashing can vary depending on several factors, including the extent of the damage, the type of flashing material used, and your location. On average, you can expect to pay anywhere from $200 to $600 for minor repairs, while more extensive repairs or replacements can cost upwards of $1,000 or more. It’s always a good idea to obtain multiple quotes from reputable roofing contractors to ensure you’re getting a fair price for the work required.
Replace Roof Flashing Materials with a Professional Roofer

Roof flashing may not be the most glamorous aspect of home maintenance, but it plays a crucial role in protecting your home from water damage. By understanding what roof flashing is, how it works, and how to repair it, you can safeguard your investment and avoid costly repairs down the line. Whether you tackle minor repairs yourself or enlist the help of a professional, ensuring that your roof flashing is in good condition is essential for maintaining the integrity of your home.
Need some help? Monarch Roofing has got you covered. Contact us today to install flashing or repair it on your home.


