Oftentimes, fixing a roof leak isn’t too difficult. It’s finding the source of the leak in the first place that can be frustrating! You might feel like you’re going crazy because you can hear dripping water and maybe even see water stains inside your home, but you just can’t find where the leak is coming from.
Don’t worry; we’re here to end your frustration and help you learn how to find a roof leak and repair your roof fast in 5 simple steps.
Items that will be helpful on your roof leak discovery journey:
- Bucket
- Garden hose
- Flashlight
- Ladder
- Replacement shingles
- Roofing caulk
- Roofing nails
1) Look for Tell-Tale Signs of a Leak 👀

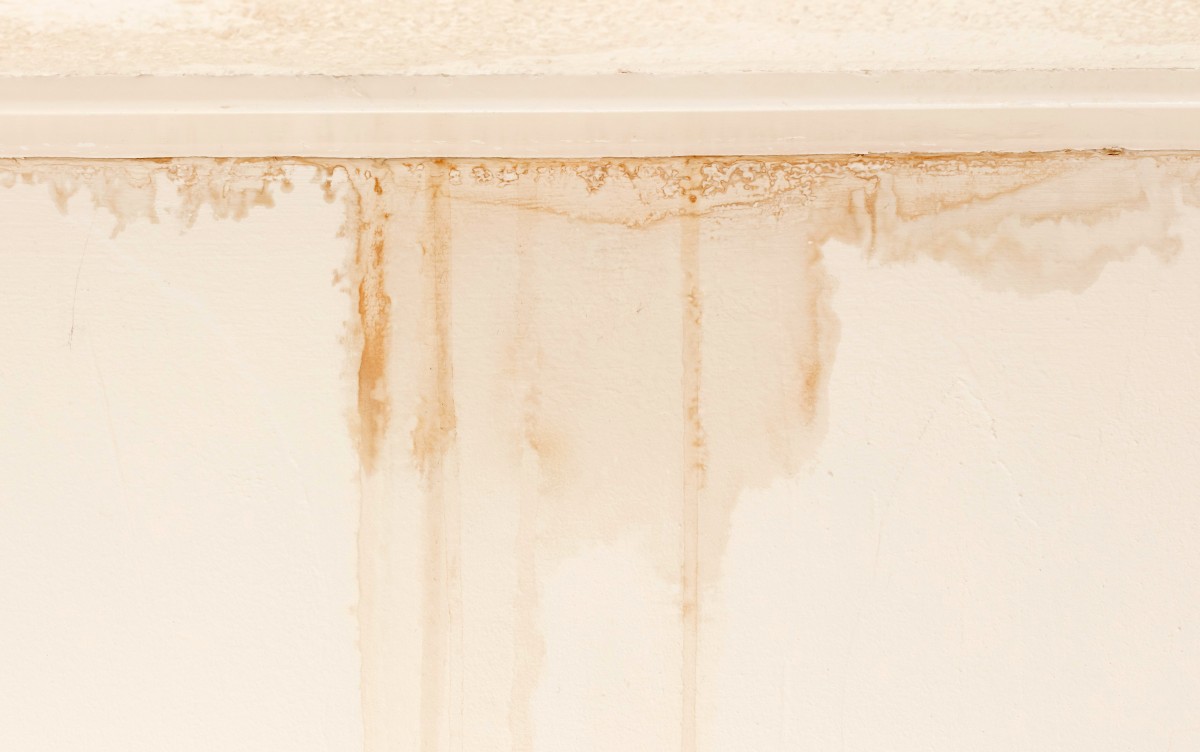
One of the most frustrating things about roof leaks is that they rarely stay contained in one localized area. Oftentimes, the water has spread around inside your home, making it difficult to pinpoint exactly where the leak started.
Typically, hearing the sound of dripping water even though all your faucets are turned off is the first sign of a roof leak. However, there are other signs to look out for that can help you confirm that you’re indeed dealing with a roofing issue.
Look out for these tell-tale signs of a roof leak, whether it’s raining or not:
- Water stains on the ceiling
- Spots on exterior walls
- Musty smells in certain rooms
- Bulging patches on interior walls
- Missing or warped shingles
These indicators will help confirm that you have a roof leak, but unfortunately, they may not exactly indicate where the leak is coming from. Move on to the next steps to narrow down the source of the roof leak.
2) Do a Thorough Attic Inspection 🕵️
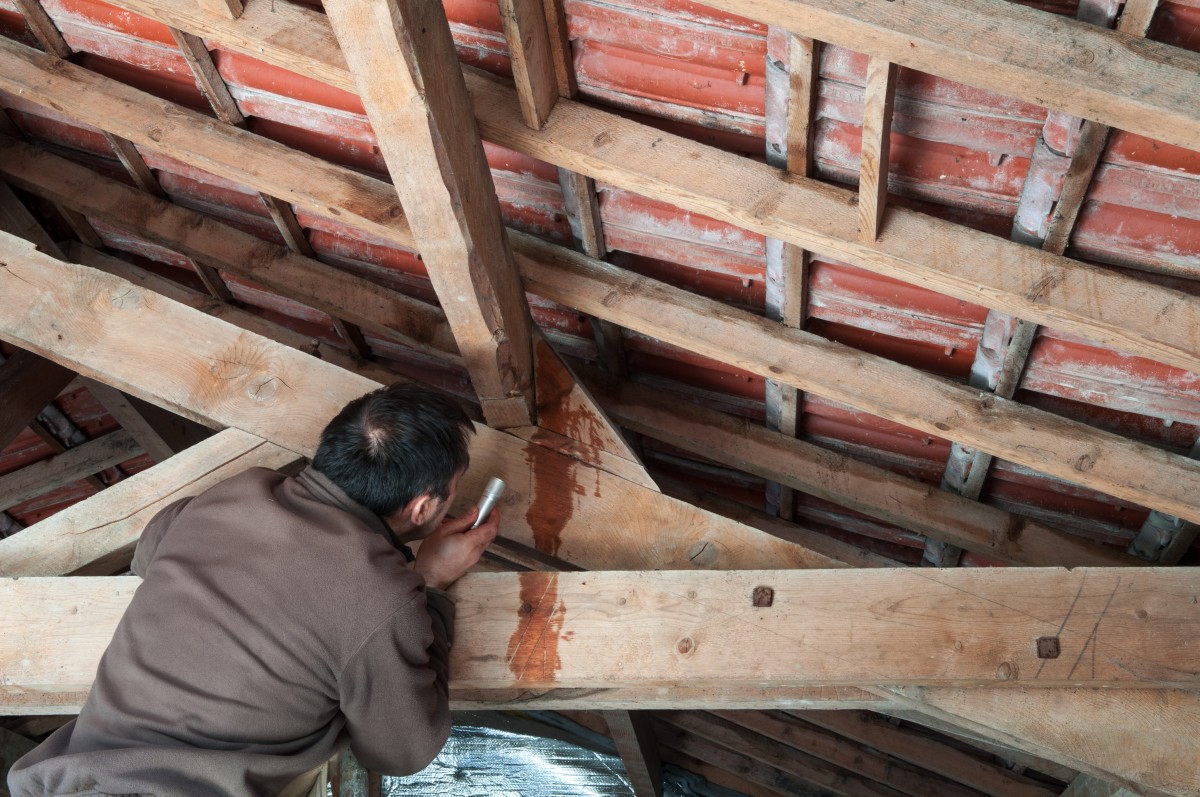
Usually, roof leaks are the easiest to find in the attic. So grab your trusty flashlight and climb up into your attic. You might have to push aside some cobwebs if you don’t go in your attic often, but once you get comfortable you can start looking for the roof leak culprit.
Look for the following things in your attic:
- Water stains
- Black marks along the rafters or roof sheathing
- Mold spots
- Exposed nails
You may be thinking, “What if I don’t have an attic?” And that’s a great question! If you don’t have an attic and you own your property, you can skip right to checking your roof for signs of damage.
However, if you rent your property or own a condo, contact your property manager and explain the situation. They will expedite the process and hire a roofing contractor to check out your property.

3) Create Rain on Your Roof ⛈
It’s a dichotomy, isn’t it? No one wants to deal with a roof leak while it’s raining, but if it’s NOT raining, then it’s quite difficult to find the leak!
If you noticed any of the signs of a leak in your attic, then have a friend or family member remain in the attic while you climb on the roof with a garden hose. Be sure to follow all safety recommendations with a sturdy ladder, harness, and rubber sole shoes.
Spray one section of your roof at a time. Have your helper inside yell out if they notice dripping water. Be sure to do this portion slowly, and don’t move on to new sections too quickly. Spend a few minutes in each area of the roof so that the water has time to move through any cracks or holes.
If your helper sees a drip, you can observe the section of shingles more closely. Look for things like:
- Cracked shingles
- Missing shingles
- Water stains
- Rotting wood
- Loose or missing nails
- Cracked caulk
- Loose vents or flashing
If you notice any of these indicators in the section that let water in, then you can feel confident knowing that you found the source of the leak.
4) Make Small Repairs If You’re Up for It 🔨
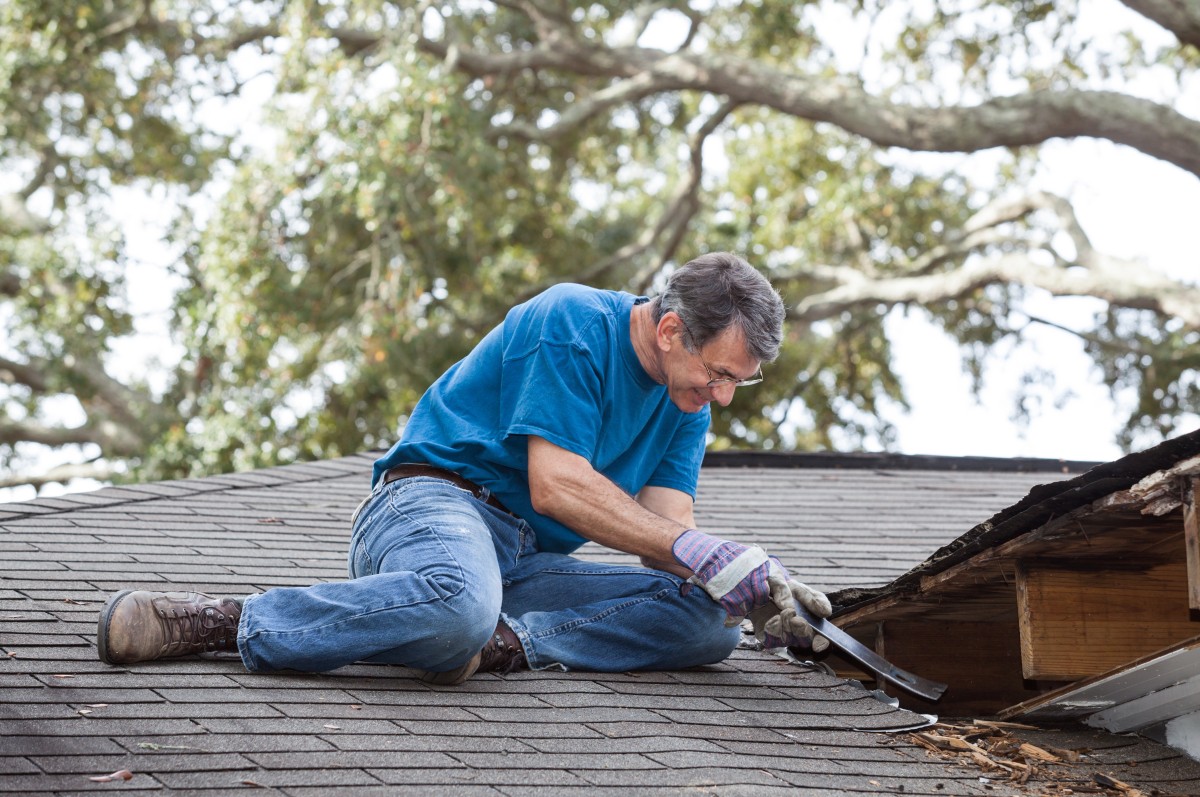
You found the source of the roof leak! Yay! You can use chalk to mark the section so that you don’t lose it again. Now, it’s up to you if you want to try and fix the leak yourself. If the issue seems obvious and simple like a few loose nails, then you can just quickly drill them back in. But if the issue is more complex, then you should leave it to a professional.
Even if the issue looks simple, you still might feel more comfortable leaving it to a roofing professional, and that’s okay (and even recommended)! But if you’re up for some DIY repairs, you can try these tips:
- Replace damaged shingles: If the leak is from a damaged shingle, remove the nails and scrape away old roofing cement. Then lay down fresh cement and nail the new shingle overtop. (If you’re dealing with multiple damaged shingles, it’s best to leave this one to a professional.)
- Reapply roofing caulk: You might notice the leak is coming from vents, chimneys, or window edges. Try replacing the caulk around the flashing in these areas. New caulk will help fill any gaps letting in water.
- Fix plumbing vent boots: Your plumbing vent boot might be the culprit if it’s damaged or loose. You can either replace it with a new boot you can find at a hardware store, or, if the boot is in good shape, you can replace and tighten the screws.

5) Call a Professional Roofing Contractor 📲
Whether or not you complete the repair yourself, it’s vital to call a trusted roofer to take a look at the area. All complex damage should always be handled by a professional.
Even if you feel confident in your DIY repair work, it’s wise to schedule an inspection with a professional to ensure everything is in working order so that you can avoid more water damage. If the roofer finds more damage, you can schedule repairs and feel confident that the issue will be taken care of soon.
Trust Your Leaky Roof With the Best
At Monarch Roofing, no roof repair is too big or small for our team to lend a helping hand. Even if you complete all these steps and still can’t find the source of your leak, or if you simply don’t feel comfortable getting up on your roof in the first place, you can trust our team to quickly solve your issue.
Our North and South Carolina crew is eager to provide you with our 5-star service. Just contact us, and we’ll be in touch shortly!


