
DIY Roof Repair: How to (Safely) Patch Your Own Roof
 6 Min Read
 17/06/22
Leaky faucets, faulty windshield wipers, and clogged-up vacuum cleaners— these are all things many homeowners want to fix themselves when they appear. But what about a leaky roof? There’s no denying that DIY roofing is more intense and dangerous than cleaning out a sink or replacing windshield wipers, but is it possible?
The answer is yes: DIY roof repairs are possible. But they’re not usually recommended for long-term fixes. If you’re in a pinch with more rain in the forecast, you can patch your own roof to tie you over until you can get in touch with a professional roofer to perform the proper roof repairs.
The most important thing is to learn how to do your DIY roof repair safely. Follow these tips to tackle your own roofing project.
Safety First: Top Safety Tips for DIY Roof Repair
Patching a roof is a potentially dangerous job. There are many safety tips to consider before you climb up on your roof so you can avoid detrimental injuries. Even when done by professionals, roofing is one of the most dangerous jobs in America. Be sure you feel 100% comfortable before tackling this DIY project.
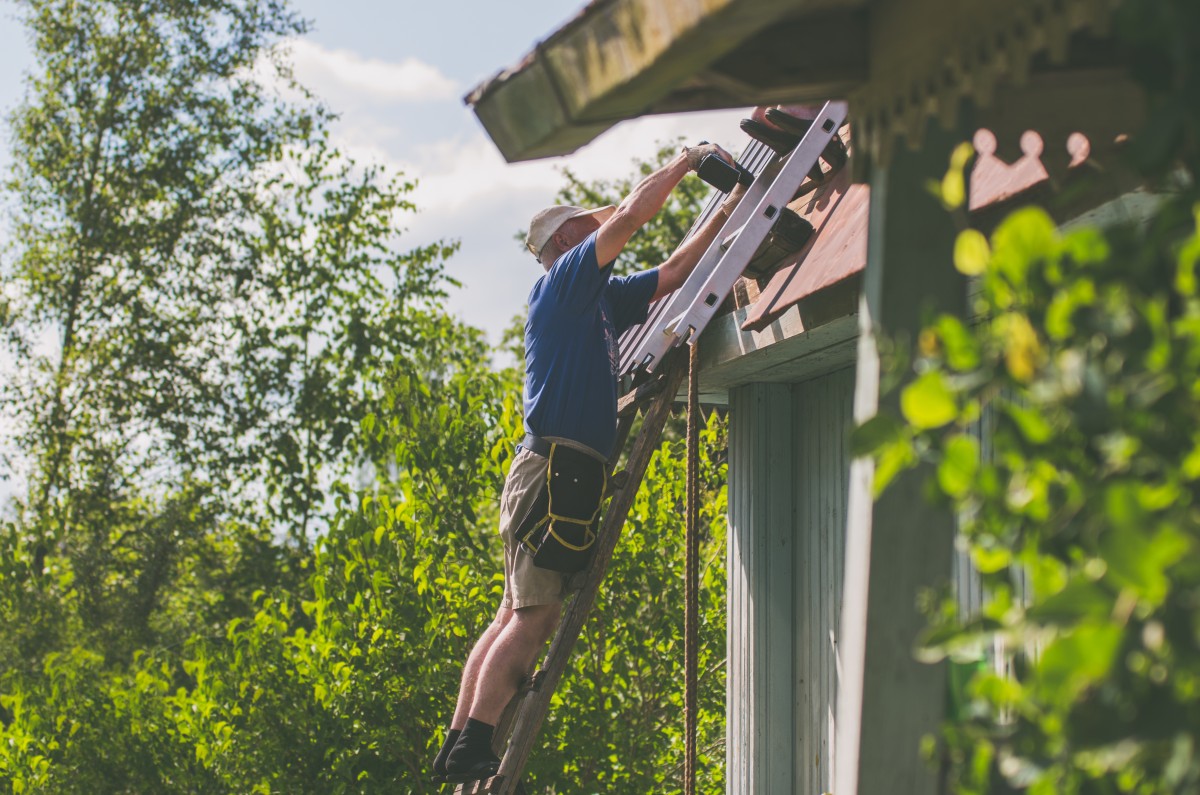
If you still decide to patch your roof by yourself, follow these essential safety tips:
- Use a roof harness system
- Use a sturdy extension ladder that extends at least 3 feet above the roof edge (but never step on the rungs above the roof)
- Always work with at least one other person
- Wear clean, sturdy, rubber-sole shoes
- Keep two hands on the top rung of the ladder as you step on and off the roof
- Pick a dry, calm, and temperate day to work on the roof
- Never work on a wet roof, in the rain, or when it’s windy
- Always leave slate and tile repairs to the pros because loose tiles can easily fall out and get damaged
- Ensure no children or pets are in the area
- Never carry more than one item up or down the ladder at a time
- Don’t put metal brackets or ladders near power lines
- Always follow the manufacturer’s instructions when using power tools
Each year, more than 500,000 people are treated for ladder-related injuries, and hundreds die from the injuries. It’s vital to reiterate how important safety is when it comes to DIY roofing. If you aren’t fully prepared with these safety items, or if you feel even slightly uncomfortable, call a professional roofer to handle the work.
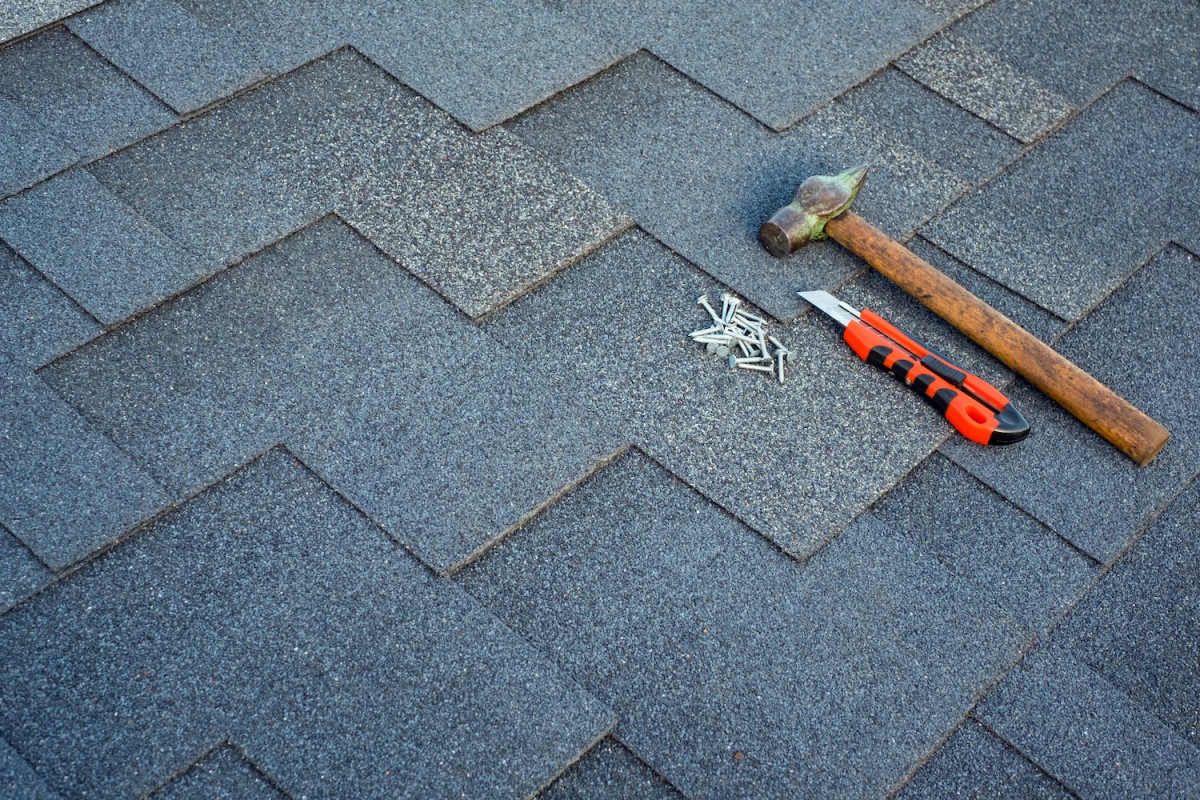
Tools & Materials Needed
If you’re determined to complete your own DIY roof patch, you’ll need to gather the following tools and materials:
- All the safety items listed above
- Flat pry bar
- Hammer
- Utility knife
- Ladder
- Flashlight
- Caulk gun
- Chalk line
- Tape measure
- 3-tab shingles
- Roof nails
- Depending on the damage: New flashing or vent boots
2 Different Fixes for 2 Different Issues
Before you can patch your roof, you’ll need to find the source of the leak. Do so by following the steps outlined in this blog.
Once you’ve located the damage that’s causing the leak, you can patch your roof. The most common leaks are usually due to:
- Damaged/missing shingles
- Damaged vent boots/flashing
1) Patch Shingles
If a damaged or missing shingle is the issue, you’ll need to tear off the old shingle and replace it. To do so, follow these steps:
- Work the edge of the flat bar under the exposed edge of the shingle to break the adhesive seal.
- Then, slide the bar further under the shingle and find the 8 nails. (Four at the sides and four across the top.)
- Center each nail head in the notch of the flat bar. Then use a hammer to drive the bar under and force the nail up. Repeat until all the nails are loosened. (Try not to tear surrounding shingles.)
- Remove the old shingle and slide a new one in its place. Nail the new shingle just above the black adhesive line.
- Apply a bit of sealant under the edges of any shingles that may have loosened next to the new one. Drive in any exposed nail heads you see with a hammer.
- Apply sealant to the nail heads.
2) Fix Leaking Vent Boots
Flashing around vent pipes can commonly cause leaks. If the flashing isn’t leaking but the boot is, you can just replace the old boot and slide a replacement over the vent pipe. But if the flashing is the problem, follow these steps to replace it:
- Measure the accurate diameter of the vent boot. Find a new flashing unit that fits the same diameter.
- Use your flat bar to gently pry up the exposed front edge of the old flashing. Remove the nails, and lift the base and boot off the pipe.
- Apply a generous amount of roof sealant to the bottom of the new flashing unit. Slide it over the pipe and under the shingles just above the pipe.
- Replace the nails and add sealant to exposed nail heads.
When to Call the Pros

Your roof is your home’s first line of defense against the elements, and it keeps your family and all your appliances, structural supports, and belongings safe and free from water damage. A mistake on your roof can have costly results. Not to mention, if you perform DIY repairs on your roof and make a mistake, you’ll void any warranties you have.
The safest and most reliable way to patch a roof is to leave it to a professional roofing company. It’s always worth the extra money to keep you and your home safe. So, if you’re dealing with any repair that’s bigger than a quick DIY-friendly fix, be sure to call a trusted local roofing contractor.
Stress-Free Repairs You Can Rely On
You deserve the best service for your roof, even when you only need small repairs. If you live in North or South Carolina, join your neighbors in trusting Monarch Roofing. As the #1 roofing company in the region, our team will handle your roofing needs with honesty, care, and respect.
Contact us today for a free inspection, and we’ll come patch your roof in no time.