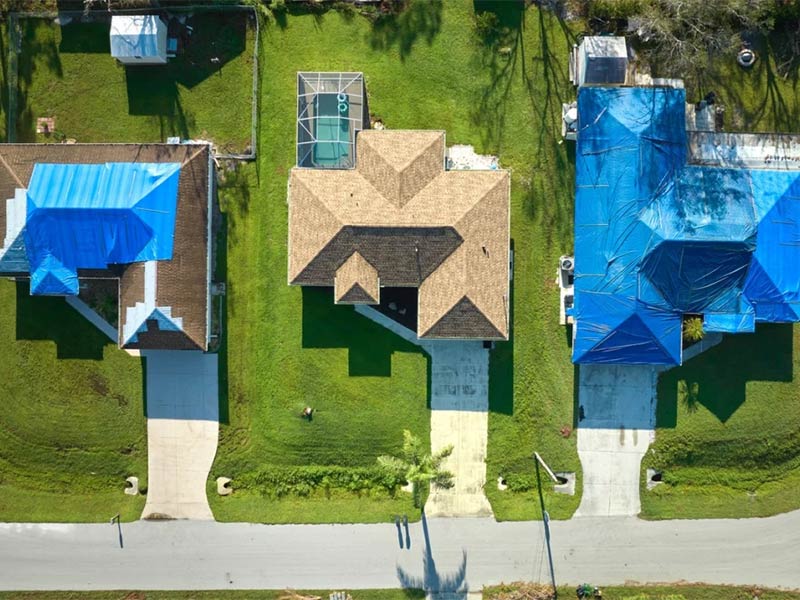
How to Tarp a Roof: A Step by Step Guide for 2023
Living in North and South Carolina means you’re no stranger to hurricanes, hail, high winds, or storms of any kind. And by our luck, they always seem to pass through when we’re least prepared, right?
When one of these powerful storms passes through your neighborhood, it’s highly possible that you’ll be left with storm damage to your roof, siding, or windows. If you’re unlucky enough to sustain a damaged roof after a storm, you’ll need to make temporary fixes to save your home from water damage before you’re able to get your roof repaired or replaced.
One of the best ways to do this is by tarping your roof (if a professional roofing contractor isn’t immediately available). Follow these 6 steps to learn how to tarp a roof.
How to Tarp a Roof: What You’ll Need
To properly tarp a roof, you’ll need to have a few supplies on hand. You can find most, if not all, of these supplies at a home improvement store.
- Tarp big enough for the damaged area
- Several 2×4 pieces of lumber
- Sturdy ladder
- Utility knife
- Rubber sole shoes
- Hammer and nails
- Tape measure
- Screw gun
Step 1: Assess the Damage
Before you get started tarping your roof please note that numerous safety measures should be taken before you climb up on your roof. Use a sturdy ladder that extends 3 feet beyond the roof edge, wear rubber sole shoes, always work with a buddy, wear a harness, and never work in wet conditions.
If you don’t have proper safety equipment on hand, or if you simply don’t feel comfortable getting up on your roof, call a local roofing professional to handle this job for you.
If you feel comfortable attaching a tarp to your roof, your first step is to climb on your ladder and assess the roof damage. If your roof is too steep to stand on, remain on your ladder.
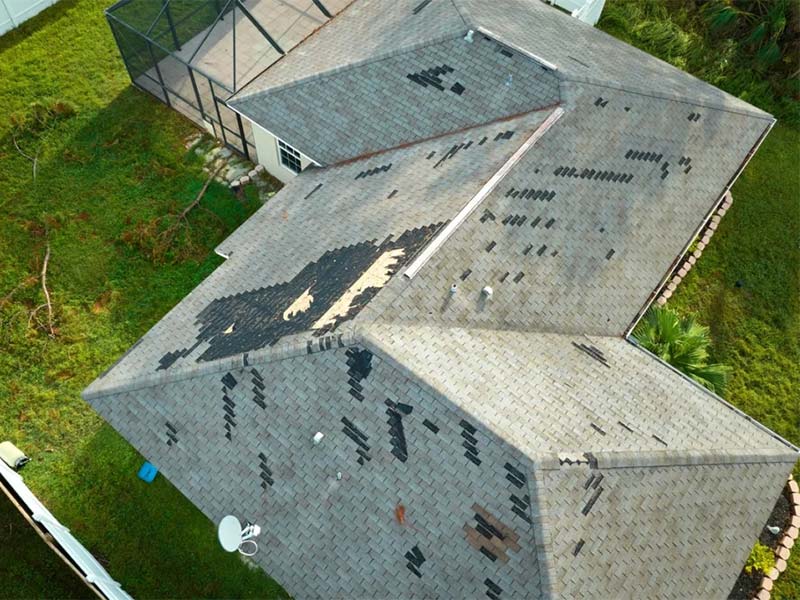
There may be more than one section of damage that you’ll need to tarp, so examine your roof carefully. Look for tell-tale signs of roof damage like:
- Missing shingles
- Cracked or curling shingles
- Debris
- Hail dents
- Loose nails
Step 2: Document the Damage
When you’ve noticed the damage, take lots of pictures with your phone or camera. You want to have as much evidence as possible of storm damage so that you have a higher chance of getting an insurance claim approved.
Having these photos on hand will also help when you’re buying a tarp at the hardware store.
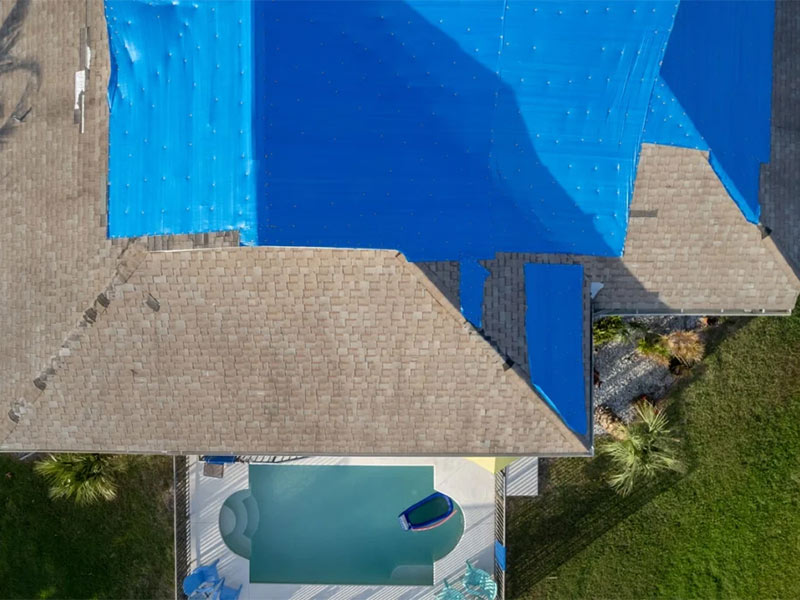
Step 3: Measure the Area & Buy a Tarp
Next, grab your tape measure and measure the exact dimensions of the damage from all sides. You’ll want a tarp that’s big enough to cover the damaged area + at least 3 feet on each side.
Then head to the hardware or home improvement store to buy a tarp. The most effective tarp for the job will be:
- Large enough to cover the damaged area + 3 feet on all sides
- Meant to be used outside
- Thick (the thicker, the better)
- Fabric with UV inhibitors
Step 4: Clear Any Debris
When you’ve returned home, be sure to clear debris off the roof before you lay down the tarp. Always work on a dry day if possible. Bring a large brush or broom onto the roof and push off all the branches, leaves, and other debris. Do as much work from the ladder as possible.
Step 5: Position the Tarp
When your roof is clear, you can unroll and position the tarp. Unrolling the tarp can be difficult on a windy day, so always be sure to have at least one other person helping you.
Lay the tarp across your roof so that at least 4 feet of the tarp lies on each side of the sloped part of your roof. If there’s excess material, let it hang off the lower border of the roof (the eave) that extends over the wall.
Step 6: Secure the Tarp
Finally, you’ll secure the tarp to 2x4s and then secure the 2x4s to the roof.
- Lay the edge of the tarp taut over a 2×4 board. Drill the peak ends of the tarp into the board. Repeat for all 4 edges.
- Wrap the tarp around the boards counter-clockwise so the tarp covers all sides of the board. Repeat on all sides.
- Use a drill to screw nails through the tarp and boards into the roof. Use 2-inch long screws, and be sure the screw goes through the tarp, board, and into the roof. Repeat for all the boards.
- Follow these same steps if a portion of the tarp hangs over the roof. You can also optionally drill more 2x4s on top of the tarp for added security.
*Safety tip: Don’t walk on your tarp once it’s down as the surface can be quite slick.
Last but Not Least, Call a Trusted Roofer
DIY tarped roofs are only meant to be used temporarily in emergencies. Roofing companies can also perform this service, so always ask professionals to complete the job first before you attempt it yourself. You should only tarp your own roof if a professional isn’t able to come to your property for a few days.
Contact Monarch Roofing for expert tarping services and speedy repairs.
Monarch Roofing specializes in helping homeowners with roof storm damage. We are licensed and insured with a commitment to our clients during every step of the roofing process.
- Asphalt Shingles5
- Cedar Shake Roof1
- Commercial Roofing1
- Financing2
- Insulation1
- Insurance1
- Metal Roofing4
- Monarch Roofing41
- Roof Cleaning1
- Roof Damage5
- Roof Drainage1
- Roof Flashing1
- Roof Inspection6
- Roof Installation15
- Roof Leak3
- Roof Protection11
- Roof Repair10
- Roof Replacement7
- Roof Shingles6
- Roof Trap1
- Roof Ventilation1
- Roof Vents1
- Roofing22
- Roofing Guide17
- Roofing Warranties1
- Shopping1
- Siding1
- Slate1
- Solar Panels7
- Solar Shingles2
- Vents1