Raise your hand if you are looking forward to replacing your roof!
…anyone? Bueller?
Okay, okay. All jokes aside, we get it. With the right roofing team in our corner, we can smoothly get roof repairs or replacements. But overall, roof replacements aren’t exactly a bundle of fun for the average person. The cost alone is enough to leave some homeowners shaking in their boots.
That’s why more and more people are looking for DIY solutions when it comes to caring for their roofs. Luckily, if you have an asphalt shingle roof, there are plenty of things you can do to help restore it to its former glory. One example? Shingle removal!
If your Google search on “how to remove shingles from roof” has brought you here, look no further! We’ll be breaking down everything you need to know, including:
- The right time to replace your shingles
- Which tools you’ll need
- When it is best to use a professional
When Is It Time To Replace My Shingles?
Is it really time to get rid of your old shingles, or can they last just one more year?
This is the question that almost all homeowners face at one point or another. And it’s an important one! After all, replacing your roof doesn’t come cheap! You want to be sure that it is worth it.
So, how do you determine whether your shingles are on their last leg? Look for these signs:
- Cracked or Dented Shingles – One of the more obvious ways to tell whether your shingles are damaged is to look for cracks and dents. This typically occurs from impact damage from things like hail but can leave your roof vulnerable to water.
- Curling Shingles – As shingles age, they naturally lose some of the oils that keep them flexible. This can cause them to shrink and curl.
- Missing Shingles – Even a new roof can lose shingles during a particularly intense storm. However, if you’re finding more and more shingles going missing from your roof, it may be a sign of more serious roofing issues.
- Roof Leaks – It may sound obvious, but a roof leak is never a good sign. Roof leaks are caused by water infiltration underneath your roof shingles and the underlayers of your roof. In some cases, this can be fixed with a simple roof patch. More severe roof damage may require a full replacement, particularly if the roof deck has suffered damage.
5 Steps to Remove Shingles
If you are a handy homeowner, you may be considering taking on the shingle removal process on your own. Before you jump in, though, it is important that you know exactly what to expect. Here are the five steps you need to follow to safely remove shingles from your roof.
1) Gather Supplies
Before you climb up on the roof, it is essential to have the right tools for the job. You’ll need the following:
- Ladder
- Hammer
- Plywood sheets
- Pry bar
- Safety harness
- Safety goggles
- Roofing shovel
- Push broom
- Garden fork
- Work gloves
- Magnetic wand
- Roofing jacks
Keep in mind that it is also very important to have a disposal plan in place. Most homeowners find it simplest to rent a dumpster for the day in order to throw out all of the old shingles at once. Talk to your dumpster company about placing your dumpster near the edge of your roof so that you can drop the shingles straight into the bin.
2) Prep the Area
Tearing off your existing shingles is messy work. You don’t want to damage your home or yard in the process! That’s why doing a little extra prep work beforehand can save you a large headache in the long run.
We recommend using tarps to cover any shrubbery, gardens, or other greenery around your home in order to protect it from falling debris. Additionally, it may be a smart idea to attach sheets of plywood to your windows in order to avoid cracks.
Lastly, you’ll want to set up your roofing jacks. These catch the falling shingles and stop them from rolling off the edge of the roof.
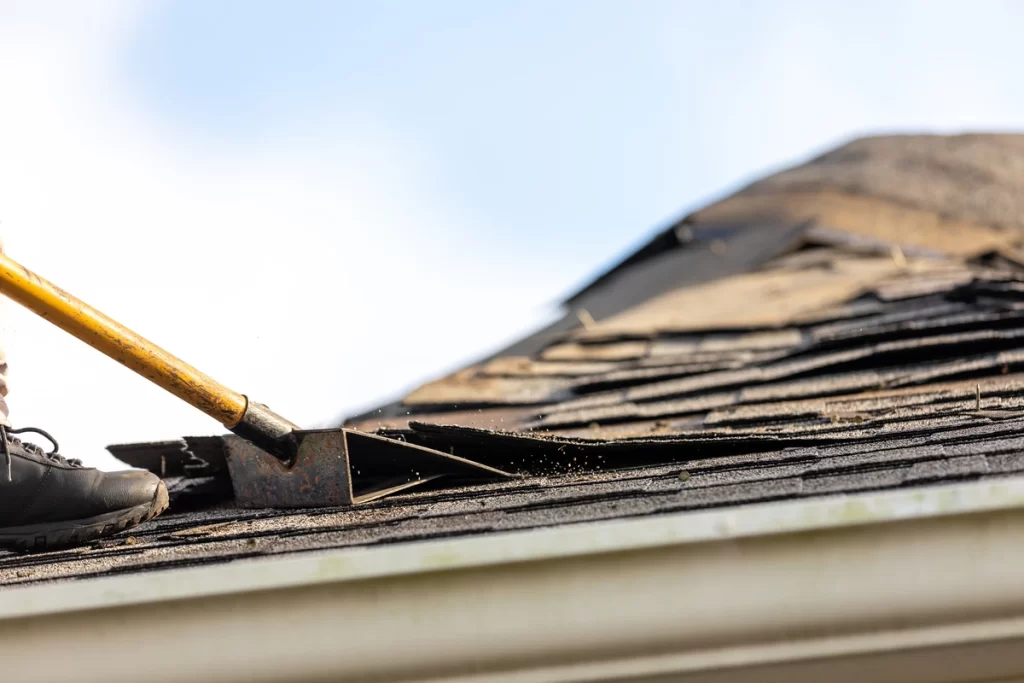
3) Begin Tear Off
Once everything is prepped, it’s time to start tearing off your asphalt shingles! After securing your safety harness, you’ll want to start at the peak of your roof. Using your roofing shovel, carefully slide it underneath your ridge caps. Pry them loose, and allow the shingles to slide down your roof. Slowly make your way down the roof, removing each shingle.
4) Remove Flashing
Once the shingles have been removed, you’ll want to check on your roof flashing. In some cases, the roof flashing may be salvageable, but if you are seeing signs of rust or corrosion, you are better off just replacing it. If this is the case, remove it as well as the shingles underneath it.
5) Clean the Roof
The job’s not done until clean up is finished! You’ll want to remove all the shingles from the roof and place them in the dumpster. Carefully sweep the entire roof deck to remove any loose nails that might be hanging around. If nails are still attached to the roof deck, you can pry these up with a hammer.
We recommend using a magnetic wand to try and catch any nails that may have fallen onto your lawn or driveway.
Benefits of Hiring a Professional
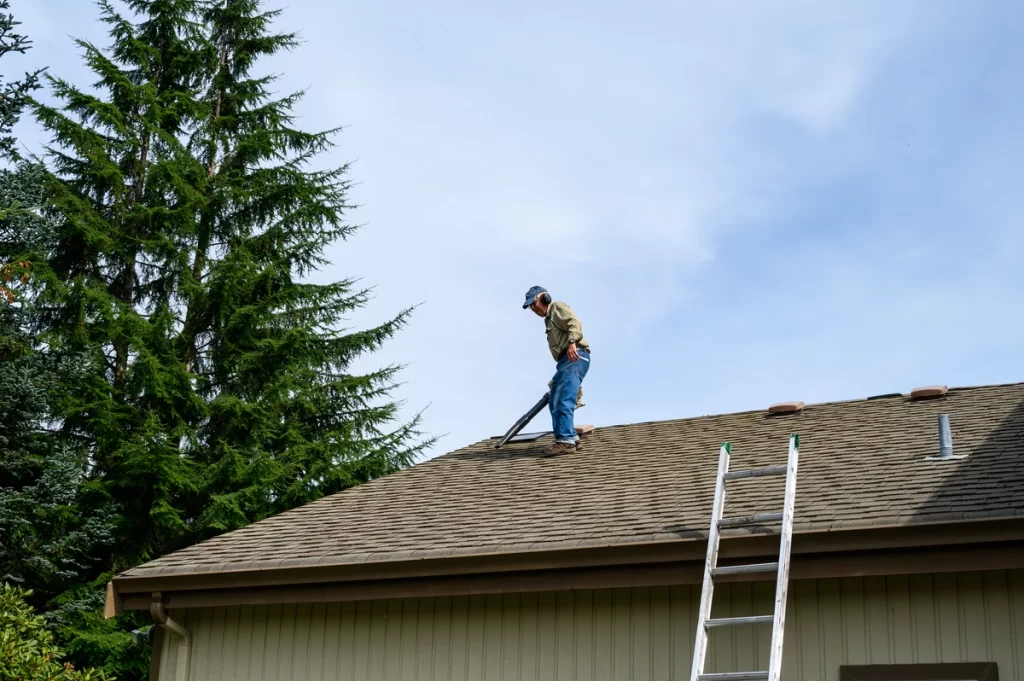
While removing your roof shingles isn’t the most difficult task, it is labor intensive. Often, it’s better to leave it to a roofing contractor.
We recommend hiring a professional if:
- Your mobility is limited, and you are unable to safely climb onto your roof
- Your roof deck is severely damaged, and walking on the roof is a hazard
- You do not have the proper equipment
Work With the Best in the Biz
When you need a team you can trust, you need Monarch Roofing! As the top roofing contractor in the area, we can help you get the new roof that you’ve been waiting for! Contact our team today to get your free 60-second roof estimate!


