A leaky roof is a homeowner’s nightmare. If caught early, it can mean inconvenient and costly damages. Left unattended? It can be even worse.
But professional roofers are busy, and getting an appointment can be challenging, depending on what time of year it is. Sometimes the best option is to tackle it yourself!
Whether you’re a seasoned DIY enthusiast or a first-time homeowner, knowing how to properly repair a roof leak is a crucial skill. Of course, it’s important not to tackle anything that’s too advanced to avoid further damage. If you come across anything more extreme, contact a professional roofer right away.
In the meantime, in this comprehensive guide, we will walk you through the step-by-step process of identifying and fixing a roof leak, including:
- Necessary tools ⚒️
- Safety precautions 🦺
- Estimated costs 💰
- When it’s best to call a professional ☎️
Keep reading to become a roof leak pro!
How To Identify Roof Leaks
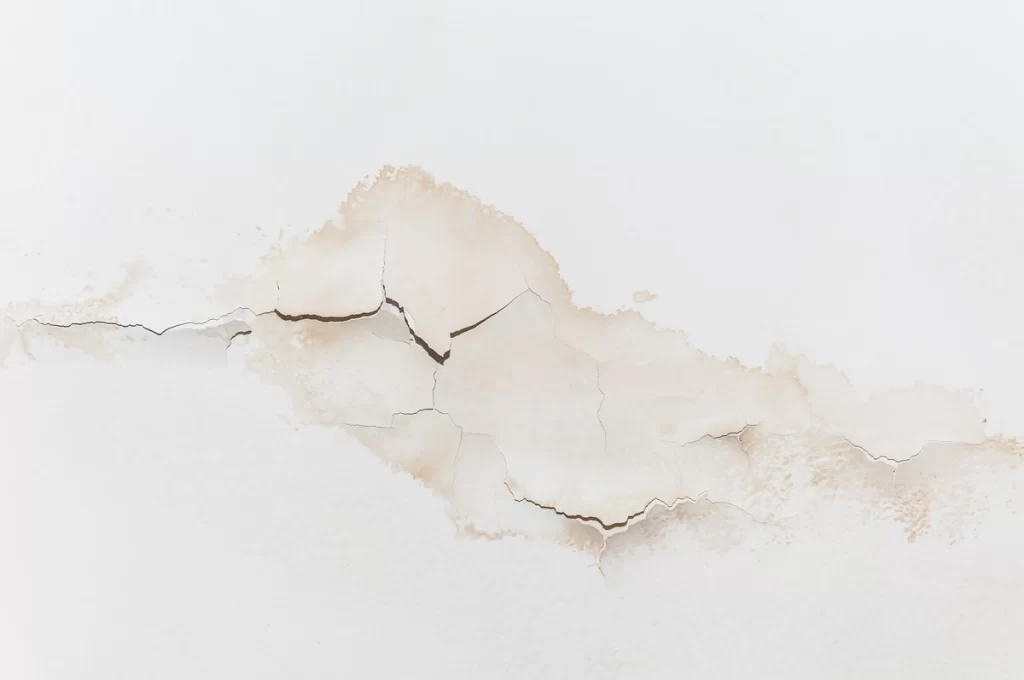
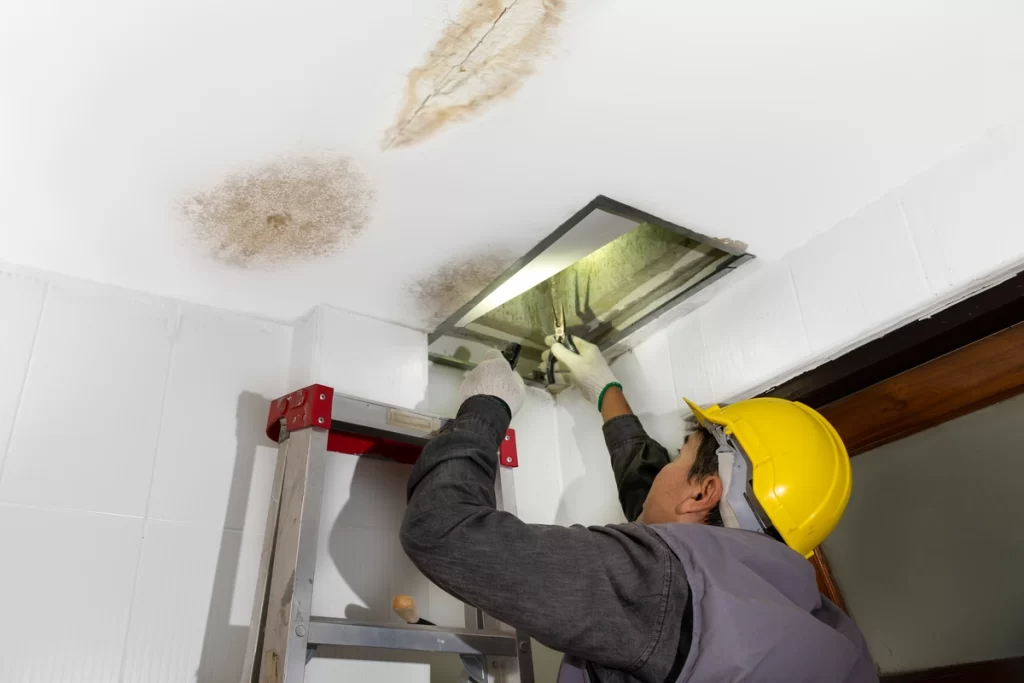
Before you begin any repairs, it’s essential to identify the source of the leak accurately. Inside the house, look for:
- Water stains on the ceilings or walls
- Damp spots
- Peeling paint
One of the trickier parts of identifying a leak is finding what part of your roof is damaged. Sometimes, this can be obvious, but other times, the source of the leak can be difficult to spot.
On the roof, visually inspect for:
- Cracked, missing, or damaged shingles
- Gaps in flashing
- Damaged roof vents.
Essential Tools for Roof Leak Repair
They say a master is only as good as their tools, and that is particularly true when it comes to roofing! To effectively repair a roof leak, you’ll need the following tools:
- Ladder: A sturdy and reliable ladder to access the roof safely.
- Safety harness: Especially important for steep roofs, a safety harness can prevent dangerous falls.
- Roofing cement or sealant: For patching up small leaks or sealing gaps in flashing.
- Roofing nails and hammer: To secure loose shingles or flashings.
- Putty knife: For applying roofing cement or sealant.
- Pry bar: To lift and remove damaged shingles or flashing.
- Replacement shingles: Have extra shingles on hand that match the existing roof material.
- Roofing tarps: In case you need to cover the roof temporarily during adverse weather conditions.
- Roofing adhesive: Useful for securing loose tiles or shakes.
Safety Precautions
Safety should always be your top priority when working on a roof. After all, working at great heights inevitably comes with risks. You want to be sure that you feel confident working on your roof, but it also doesn’t hurt to take some precautions. Here are some crucial precautions to take:
- Use appropriate safety equipment, including a safety harness, non-slip shoes, and gloves.
- Work on a clear, dry day to avoid accidents and ensure the roof is not slippery.
- Let someone know you’re working on the roof, so they can assist or call for help if needed.
- Avoid working near power lines, and be cautious of overhead electrical hazards.
- Wear eye protection to guard against debris falling from the roof.
Understanding Roof Repair Costs
There are lots of reasons why homeowners may choose to do their own repairs, but for most people, it comes down to saving money. DIY roofing work will cut labor costs, which can lower your overall repair costs.
The cost of repairing a roof leak can vary widely depending on the extent of the damage, the type of roofing material, and labor costs in your area. Minor repairs, such as fixing a small hole or resealing flashing, can cost as little as $100 to $300. However, more significant repairs that involve replacing multiple shingles or addressing structural issues may range from $500 to $1,500 or more.
It’s essential to consider the long-term implications of a roof leak. Delaying repairs can lead to more extensive damage, potentially costing thousands of dollars in water damage restoration and mold remediation.
10-Step Roof Leak Repair Guide:
Ready to tackle your leaking roof once and for all? Follow these steps to properly repair a roof leak:
1) Safety First
Gather all the necessary safety equipment and follow the safety precautions mentioned above. If you feel any uncertainty about working at dangerous heights, we recommend leaving the work to the professionals.
2.) Clean the Roof
Remove any debris or loose shingles from the affected area. This will allow you to clearly see the roof, as well as ensure that your new shingles can be properly attached.
3.) Locate the Leak
Trace the source of the leak from the inside of the house to the exterior of the roof. Make sure to be precise about this! You don’t want to waste time and resources repairing the wrong area.
4) Temporary Fix (If Necessary)
If adverse weather conditions prevent immediate repairs, use roofing tarps to cover the leak temporarily. This should keep your home safe from further water damage and allow you to have some peace of mind.
5) Lift and Inspect Shingles
When the weather permits it, it is time to fix your leaky roof for good! Carefully lift the damaged shingles using a pry bar to assess the extent of the damage. You may notice that the roof deck or underlayment looks damp. This is a good sign that you have found the right spot.
6) Apply Roofing Cement
Use a putty knife to apply roofing cement or sealant to small holes or cracks in the roof.
7) Replace Damaged Shingles or Flashing
If shingles or flashing are severely damaged, remove and replace them with new ones. Secure the new materials in place with roofing nails and roofing adhesive if needed.
8) Inspect Roof Vents and Chimneys
Check for gaps or cracks around roof vents and chimneys, and seal them with roofing cement or flashing tape.
9) Conduct a Water Test
After repairs, have someone help you conduct a water test using a hose to simulate rain. Check inside the house for any signs of leakage. If no water is coming through, you are good to go!
10) Clean Up
Remove all tools and debris from the roof, and properly dispose of any waste. Take extra care to dispose of any stray roofing nails to avoid injuring yourself or any wildlife.
When to Call a Professional
While some roof leaks can be easily repaired by a confident DIYer, certain situations warrant professional expertise. Here are some of the signs that it is time to call in qualified roofing contractors:
- Extensive Damage: If the damage covers a large area or involves structural issues, it’s best to leave the repairs to a professional roofing contractor.
- Steep Roofing: Working on a steep or high roof without proper safety training and equipment can be extremely dangerous. Call a professional for these situations.
- Limited Roofing Experience: If you lack experience in roofing or are unsure about the extent of the damage, it’s safer to hire a professional.
- Roof Warranty Concerns: Attempting repairs yourself could void your roof’s warranty. Always check the warranty terms before proceeding.
Work With the Best of the Best!
When it comes to choosing a contractor for your leaking roof, you deserve to work with the best in the business. That’s exactly what you will find at Monarch Roofing. Whether you are looking for minor roof leak repairs or are in need of a full roof replacement, our knowledgeable team can help. Contact us today to get your 60-second roof quote!


