Curling shingles may seem like a minor issue, but they can lead to significant problems if left unaddressed. Understanding the causes, how to spot them, and how to repair them is crucial for maintaining the integrity of your roof and ensuring the safety of your home.
In today’s post, we’ll delve into the various aspects of curling shingles, including:
- Their causes
- Detection
- Dangers
- Repair options
- Cost considerations
- Whether to hire a professional or go the DIY route
- How to maintain your shingles for longevity
What Causes Curling Shingles?
Curling shingles are often a sign of aging or damage to the roof. Several factors contribute to this phenomenon:
- Heat Exposure: Prolonged exposure to sunlight and high temperatures can cause the asphalt in shingles to dry out and shrink, leading to curling.
- Poor Installation: Incorrect installation techniques, such as improper nailing or inadequate sealing, can cause shingles to curl prematurely.
- Moisture: Excessive moisture from rain, snow, or humidity can penetrate the shingles, causing them to swell and contract, leading to curling.
- Poor Ventilation: Inadequate attic ventilation can trap heat and moisture, accelerating the deterioration of shingles and causing them to curl.
- Material Quality: Low-quality shingles or materials that are prone to warping and shrinking are more likely to curl over time.
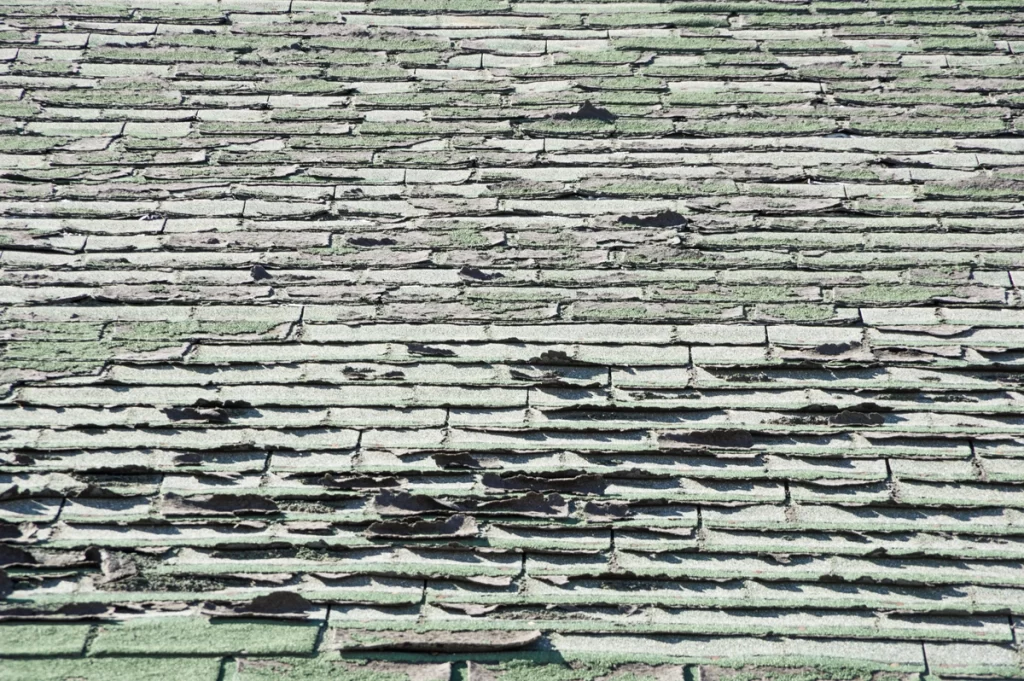
How to Spot Curling Shingles
Detecting curling shingles early is key to preventing further damage to your roof and home. Here’s how to identify them:
Visual Inspection:
From the ground, use binoculars to inspect your roof for any signs of curling or lifting shingles. Look for areas where the edges of the shingles are turned upward or where the tabs are lifting.
Check Gutters and Downspouts:
If you notice an accumulation of granules in your gutters or downspouts, it could be a sign of deteriorating shingles, including curling.
Attic Inspection:
Inspect your attic for signs of water damage, such as staining or mold growth, which may indicate a leak caused by curling shingles.
The Dangers of Curling Shingles:
Ignoring curling shingles can lead to several potential dangers:
- Water Damage: Curling shingles create gaps and exposed areas where water can infiltrate, leading to leaks and water damage inside your home.
- Mold and Mildew: Moisture seeping through curling shingles can promote the growth of mold and mildew in your attic and interior spaces, posing health risks to occupants.
- Structural Damage: Prolonged exposure to moisture can compromise the structural integrity of your roof and underlying components, leading to costly repairs or even collapse.
- Energy Loss: Gaps created by curling shingles allow heated or cooled air to escape from your home, increasing energy bills and reducing indoor comfort.
How to Repair Curling Shingles: 5 Steps
Repairing curling shingles in a timely manner can help prevent further damage and extend the lifespan of your roof. Here’s a step-by-step guide to repairing them:
1) Gather Materials:
You’ll need replacement shingles, roofing cement, a utility knife, a caulking gun, and roofing nails.
2) Remove Damaged Shingles:
Carefully lift the edges of the curled shingles using a pry bar or putty knife and remove any nails holding them in place.
3) Replace Shingles:
Slide the new shingle into place, ensuring it aligns with the surrounding shingles. Secure it with roofing nails and apply roofing cement to the edges to seal them.
4) Flatten and Seal:
Use a heavy object, such as a brick or board, to press down on the replaced shingle and ensure it adheres properly to the roof surface. Apply additional roofing cement if needed to seal any gaps.
5) Inspect and Clean Up:
Once the repair is complete, inspect the surrounding area for any additional damage or loose shingles. Clean up any debris from the repair process.
The Cost to Repair Curling Shingles
The cost of repairing curling shingles can vary depending on the extent of the damage, the type of shingles used, and whether you hire a professional or opt for a DIY approach. Here are some cost considerations:
- Material Costs: Replacement shingles, roofing cement, and other materials typically cost between $100 to $300, depending on the size and complexity of the repair.
- Labor Costs: If you hire a professional roofer, labor costs can range from $200 to $500 or more, depending on the extent of the damage and local labor rates.
- DIY Savings: By tackling the repair yourself, you can save on labor costs but may incur additional expenses if you need to purchase or rent tools and equipment.
Should You Hire a Professional or Go the DIY Route?
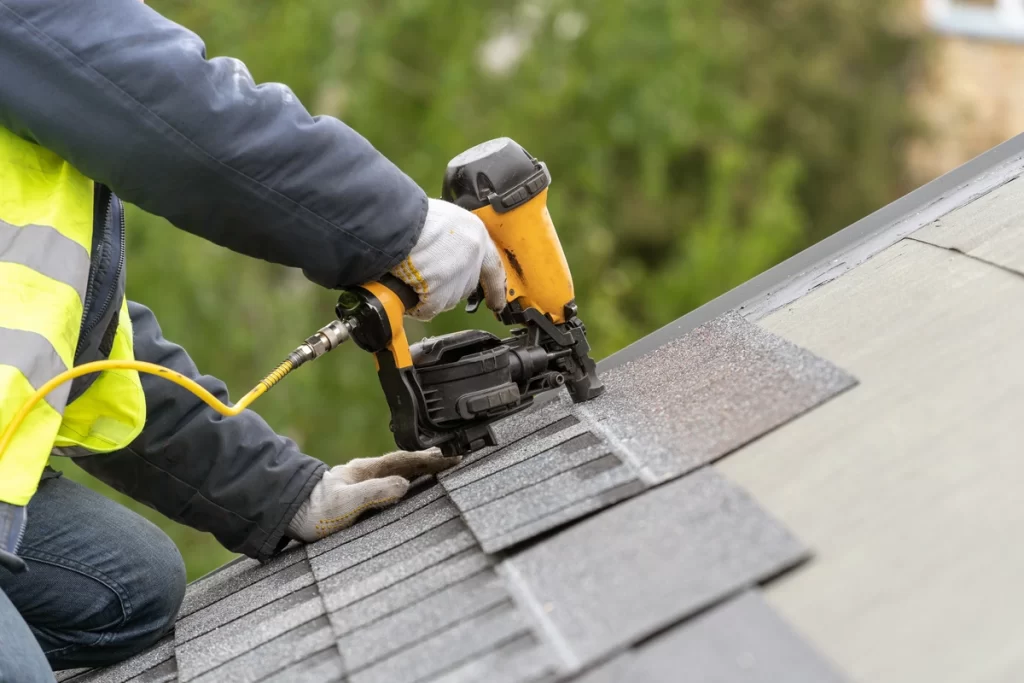
Deciding whether to hire a professional roofer or attempt a DIY repair depends on several factors:
- Skill and Experience: Roof repairs require specialized knowledge and skills, so if you’re not comfortable working at heights or have limited experience with roofing projects, it’s best to hire a professional.
- Safety Considerations: Working on a roof can be dangerous, especially without proper safety equipment and training. Professionals have the necessary safety protocols in place to minimize the risk of accidents.
- Time and Convenience: DIY repairs may take longer to complete, especially if you encounter unexpected challenges along the way. Hiring a professional can save you time and hassle.
- Warranty Coverage: Many roofing manufacturers require repairs to be performed by certified contractors to maintain warranty coverage, so hiring a professional may be necessary to protect your investment.
How to Take Care of Your New Shingles
After repairing curling shingles, proper maintenance is essential to ensure their longevity and performance. Here are some tips for taking care of your new shingles:
Regular Inspections:
Conduct visual inspections of your roof at least twice a year to check for any signs of damage or deterioration, including curling shingles.
Clean Gutters:
Keep gutters and downspouts clear of debris to prevent water backup and potential damage to your roof and shingles.
Trim Overhanging Branches:
Trim back any overhanging branches that could rub against or damage your shingles during high winds or storms.
Address Leaks Promptly:
If you notice any signs of water infiltration or leaks, address them promptly to prevent further damage to your roof and home.
Professional Maintenance:
Consider hiring a professional roofing contractor for routine maintenance and inspections to catch potential issues before they escalate.
Curling Roof Shingles? Schedule Your Roof Replacement
Curling shingles may seem like a minor issue, but they can lead to significant problems if left unaddressed. By understanding the causes, how to spot them, and how to repair them, you can protect the integrity of your roof and ensure the safety of your home. Whether you choose to tackle the repairs yourself or hire a professional, proper maintenance is essential for preserving the lifespan of your shingles and maintaining a watertight roof for years to come.
Ready to tackle your curling asphalt shingles? Contact Monarch Roofing today to get started!


